Maintaining and Protecting Timber Structures
Timber is a brilliant building material: strong, versatile, and it looks great in both modern and traditional projects.
The challenge in the UK is that timber is constantly exposed to moisture, shade, algae growth, and summer UV. Left unchecked, those conditions can shorten the lifespan of timber features such as decking, cladding, pergolas, soffits, and structural beams.
The good news is that most timber failures don’t happen overnight. They start small: moisture getting trapped, coatings wearing thin, end grain left unsealed, or tiny gaps that let water sit where it shouldn’t. With a simple maintenance routine and the right protective finish,
you can extend the life of timber for years — while keeping it safe and looking sharp.
Below you’ll find practical advice on cleaning, sealing, staining, and pest prevention, plus a straightforward seasonal checklist.
What damages timber most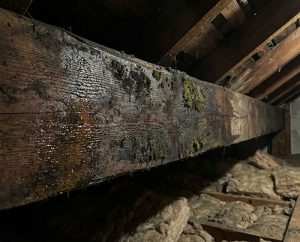
- Moisture: swelling, cupping, splitting and rot — especially where water is trapped.
- UV exposure: surface breakdown, greying, and finishes failing sooner on sun-facing areas.
- Poor airflow: timber that can’t dry out stays damp for longer, increasing decay risk.
- Bad detailing: unsealed end grain, flat surfaces that hold puddles, and weak junctions around openings.
- Pests: wood-boring insects are more likely when timber stays damp.
Rule of thumb: Keep timber clean, keep it dry, and refresh protection before the finish completely fails.
A quick inspection (10 minutes, twice a year)
Before you clean or recoat anything, do a quick walkaround. You’re looking for early signs that the timber is holding water, moving too much, or starting to deteriorate.
Decking and outdoor timber
- Green/slippery film (algae), black spotting, or persistent damp patches.
- Loose boards, popped fixings, wobbly steps or handrails.
- Splits at board ends, soft areas near edges, or standing water after rain.
Cladding and exterior joinery
- Discolouration at the bottom edge (splashback zone) or boards touching soil/vegetation.
- Open joints, warped boards, or staining trails around corners and junctions.
- Cracks around windows, doors, vents, and pipe penetrations.
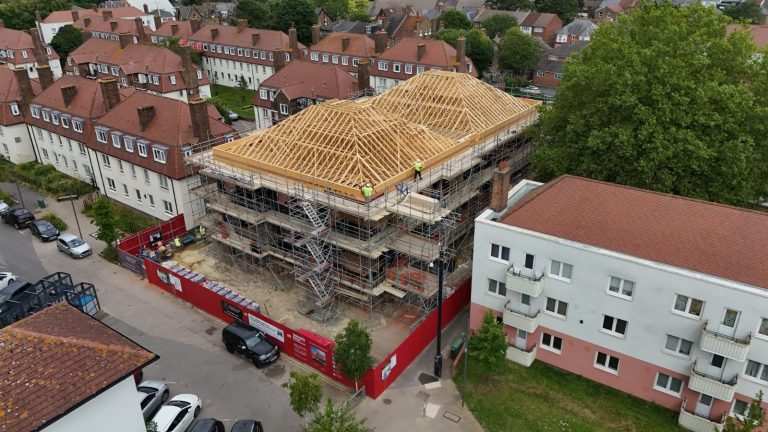
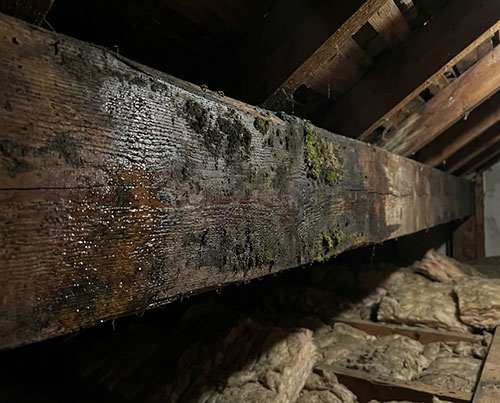
Structural timber (beams, joists, rafters)
Be cautious with structural timber. If you see recurring damp staining, noticeable sagging, timber that feels soft when gently probed, or signs of insect activity (holes or fine dust), address the moisture source and consider a professional assessment.
Cleaning timber properly
Cleaning improves appearance and helps coatings bond. It also reveals issues you won’t spot under dirt and algae.
- Sweep first: remove leaves and debris (they hold moisture against the surface).
- Wash gently: use a soft brush and a suitable timber/deck cleaner, then rinse carefully.
- Avoid aggressive pressure washing: it can raise the grain and force water deeper into the timber.
- Let it dry fully: staining or sealing damp timber is one of the most common reasons finishes fail early.
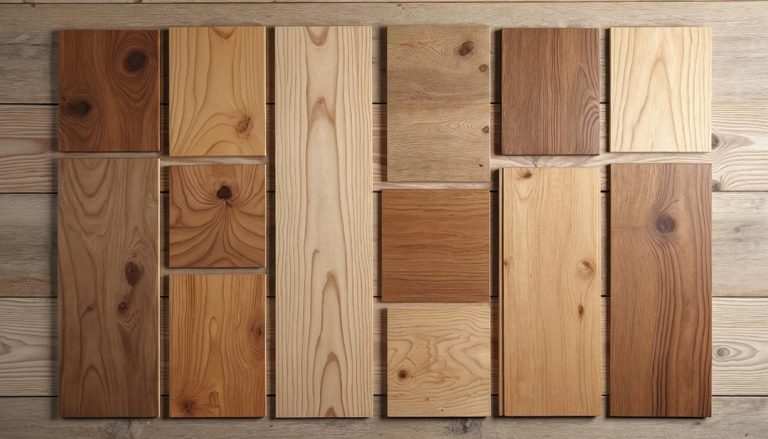
Sealer vs stain vs paint: choosing the right protection
There isn’t one “best” finish — it depends on exposure, traffic, and the look you want. The key is using an exterior-grade product and applying it to clean, dry timber.
- Sealer (clear/lightly tinted): keeps a natural look, but may need more frequent top-ups in exposed areas.
- Stain (tinted/semi-transparent): great all-round choice for decks and cladding; adds UV protection and is usually easy to refresh.
- Paint/opaque systems: best for a solid colour finish; prep matters most to prevent peeling and trapped moisture.
How to seal or stain timber
- Prep: clean thoroughly; lightly sand rough patches or raised grain; remove dust.
- Protect end grain: board ends absorb water fastest. Apply extra product to ends and edges (common failure points on decks and cladding).
- Apply thin, even coats: avoid heavy coats that sit on top and crack; follow coverage and drying times.
- Choose the right weather: aim for dry conditions; avoid cold, damp days and avoid applying in intense direct sun.
- Maintain drainage and airflow: coatings help, but good detailing stops repeat problems.
Decking: what extends lifespan the most
- Keep it clear: sweep leaves and dirt regularly, especially in corners and against walls.
- Stop slip early: treat algae/moss and improve airflow (trim back plants, reduce shade where possible).
- Check fixings: replace corroded screws and re-secure loose boards before movement causes splits.
- Don’t ignore the subframe: if water is pooling underneath or airflow is blocked, surface recoats won’t solve the root cause.
Cladding: prevent hidden water ingress
- Watch the bottom edge: splashback and ground contact are the biggest risks.
- Inspect openings: windows, doors, vents and pipe penetrations are common entry points for water.
- Recoat before it fails: refreshing protection early is quicker and cheaper than restoration after neglect.
Pest prevention
Most timber pest problems are linked to damp conditions. Make the timber less attractive by improving drying conditions: keep ventilation paths clear, fix leaks promptly, and keep soil/vegetation off timber surfaces. Store firewood away from the house and off the ground. If you notice holes, fine dust, or weakening timber, act quickly — and don’t just coat over the symptoms.
Seasonal checklist
- Spring: clean, inspect, treat algae, and plan any recoats for dry weather.
- Summer: stain/seal during dry spells; check sun-facing timber for UV wear.
- Autumn: keep leaves off surfaces; check gutters and downpipes to avoid overflow soaking timber.
- Winter: avoid finishing in damp/cold; focus on drainage, ventilation, and spotting persistent leaks.
When to call a carpenter
Routine cleaning and recoating is ideal DIY territory. However, you should bring in a professional when timber repeatedly fails in the same area, you suspect rot in supports/joists/beams, or cladding shows signs of water getting behind it. In those cases, a good repair isn’t just replacing
timber — it’s fixing the reason it failed (water path, ventilation, junction detailing, and correct fixings) so it lasts.
If you’d like a second opinion or want a planned maintenance refresh, M&W Carpentry can help with inspections, repairs and long-lasting upgrades — from external timber features through to more structural carpentry work.
Need advice or a quote?
Get in touch to arrange an inspection or discuss your project.